Appointment Reminders are text messages or emails that are automatically sent before an appointment to remind a client about the upcoming appointment.
Please note that Appointment Reminders only work if the job is scheduled in SM6.
To create an Appointment Reminder, you will first need to create an SMS or Email template, which will be the text, or email that is sent to the client.
Click here to learn how to make an SMS Template.
Click here to learn how to make an Email Template.
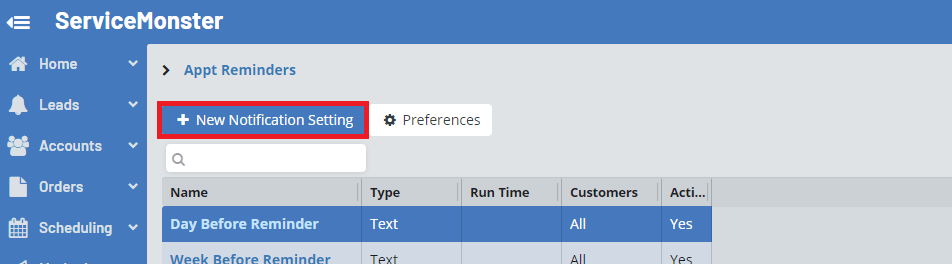
To create the Appointment Reminder, click on "Settings" in the Main Menu, then select “Appt Reminders”.

Here you can create new Appointment Reminders, or view your current reminders. Click “+ New Notification Settings” to create a new reminder.
This will open a window where you can start creating your new notification.
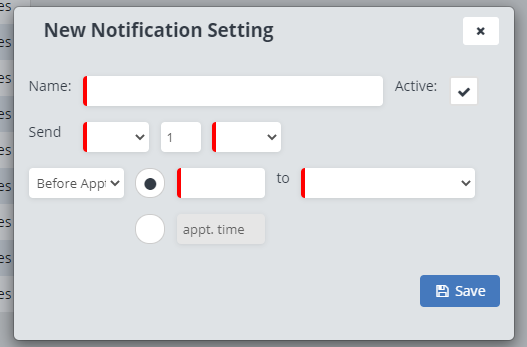
Here you can enter the following details:
Name: The name of this notification, for example, “Day Before Reminder”.
Active: If this is a notification you are currently using or want to use, leave this box checked.
Send: Here you can specify what is being sent, and when. In the first drop-down menu pick either Email or Text, in the box in the middle specify the number of days or hours the message should be sent before or after the appointment, then in the last drop-down menu pick days or hours.
Before/After Appointment: Pick if the message will be sent before or after the appointment.
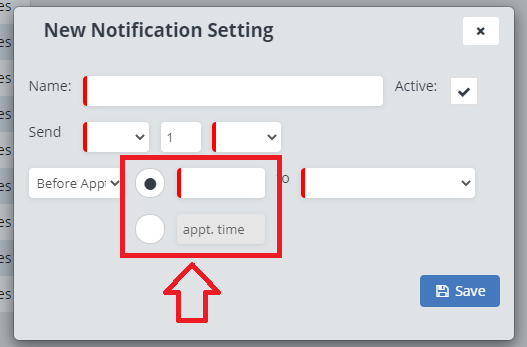
Here you can pick what time the reminder will send at. If you choose the top option you can pick a specific time appointment that will be sent at, such as 9am. If you choose the bottom option your reminder will be sent at the same time as the appointment the reminder is being sent for.
Then, you can pick who will receive this reminder.

Here you can pick between “All Customers”, “Residential Customers”, and “Commercial Customers”.
A final box will appear that will let you choose the SMS or Email template that the reminder should use.
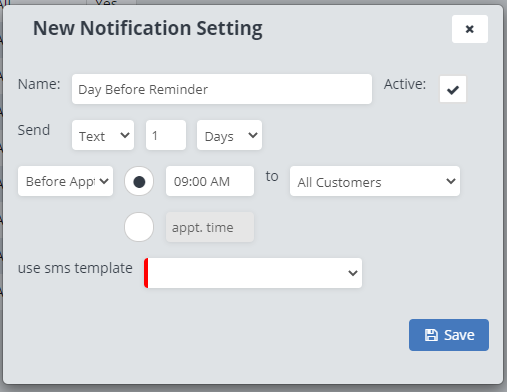
Click “Save”. Any appointments made from this point on will either receive this appointment automatically or can manually be assigned it depending on your appointment reminder preferences.
On the Appointment Reminders page, click on the “Preferences” button.
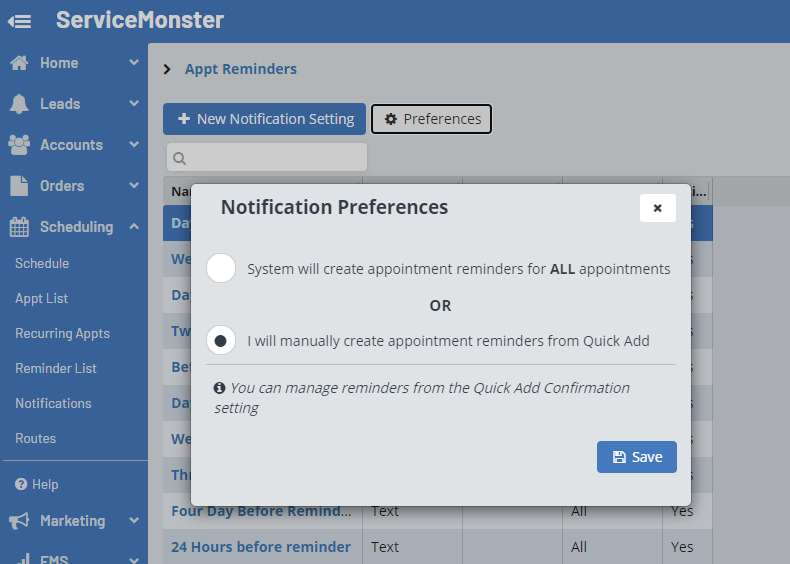
Here you can pick if the system is going to automatically create appointment reminders for all appointments, or if you will manually create an appointment reminder.
Reminder, if you do set the system to automatically create appointment reminders they are still only used on an appointment if the appointment was created after the reminder was created. Otherwise, the remainder will still need to be manually created.
If you choose to manually create appointment reminders, or if you have an appointment that was created before the notification and you want to edit the reminders it will receive, you can do so from the Quick Add, or from the Schedule.
If you created your appointment in the Quick Add, you can turn on Appointment Reminders in the “Confirmation” tab.
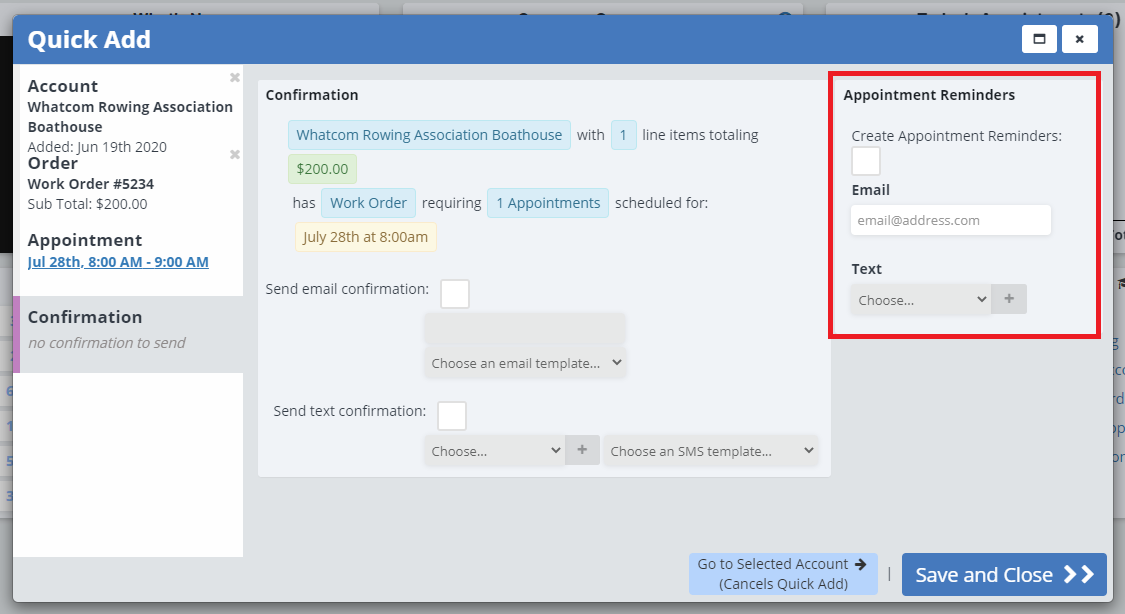
In the “Appointment Reminders” box you can check the “Create Appointment Reminders” box to create appointment reminders for this appointment. You can also choose the email address and phone number the reminders are sent to.
Click “Save and Close” to save those settings.
Double click on an appointment on the schedule to open the appointment details.

This will open up a window with the appointment details.
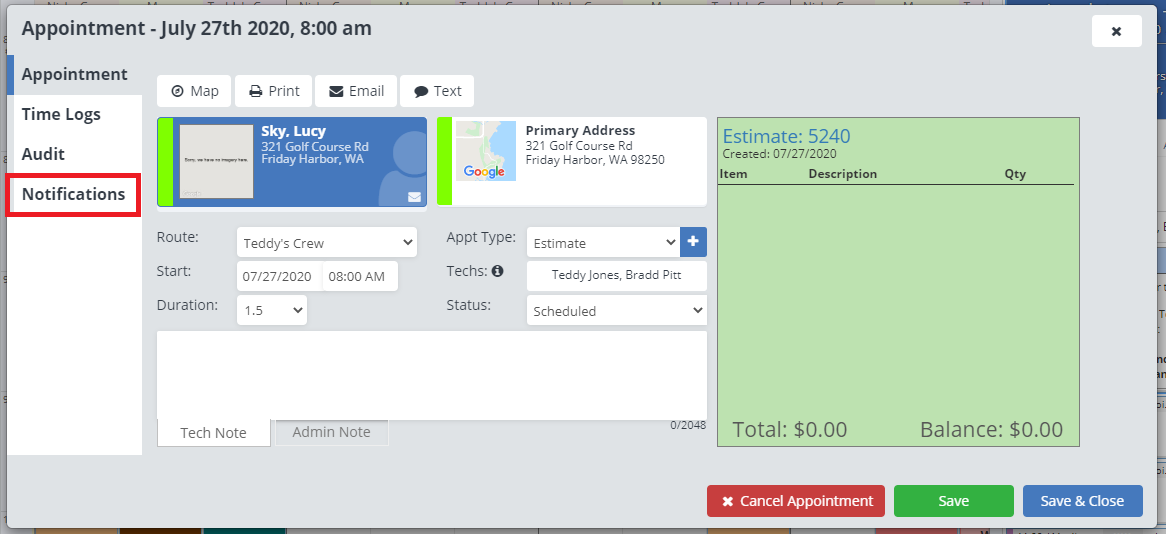
Go to the “Notifications” tab.
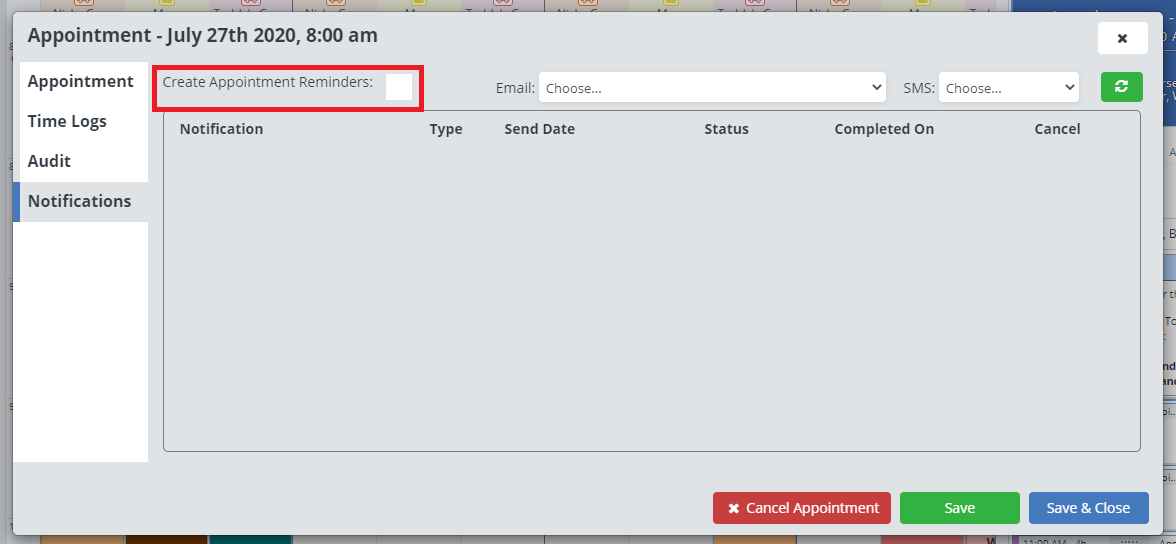
Here you can check the “Create Appointment Reminders” box, and choose the email address and phone number reminders will be sent for.
Once you choose an email address and/or phone number, you can click on the green refresh button. You will then be able to see any reminders the client could possibly receive.
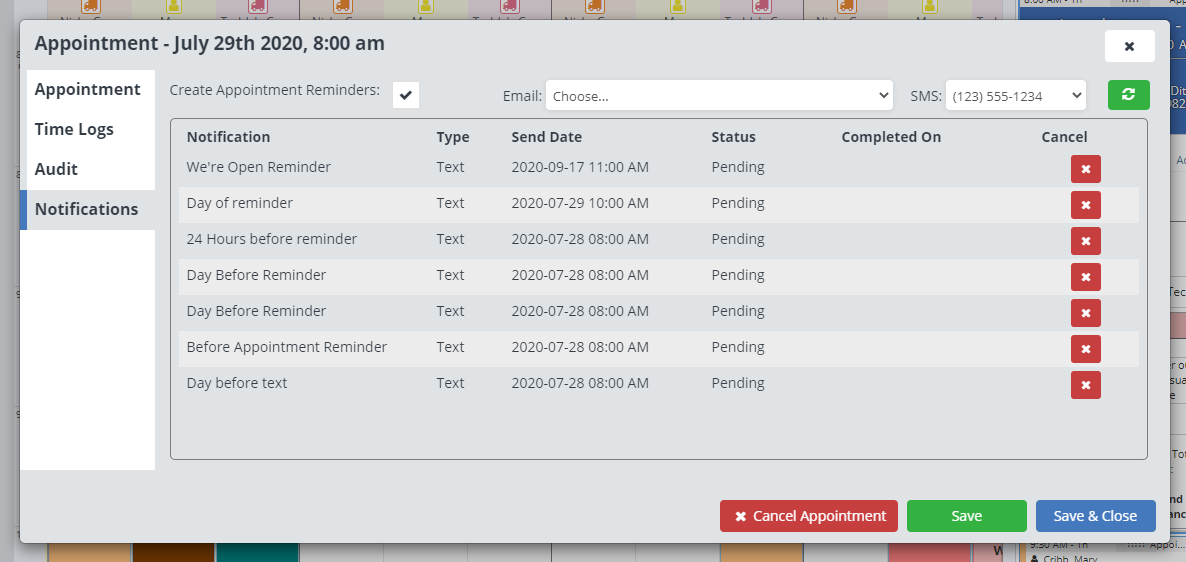
You can click on the red “X” next to the reminder to cancel it.
Remember to click “Save” to save your settings.

