Learning to navigate and customize the grids within ServiceMonster will make your job easier and save you time. Grid customization allows you to quickly find exactly what you want, and to make tweaks as your needs may change.
As you move around in ServiceMonster, you may notice various Grids. Here are some consistent tools you can use to navigate them.
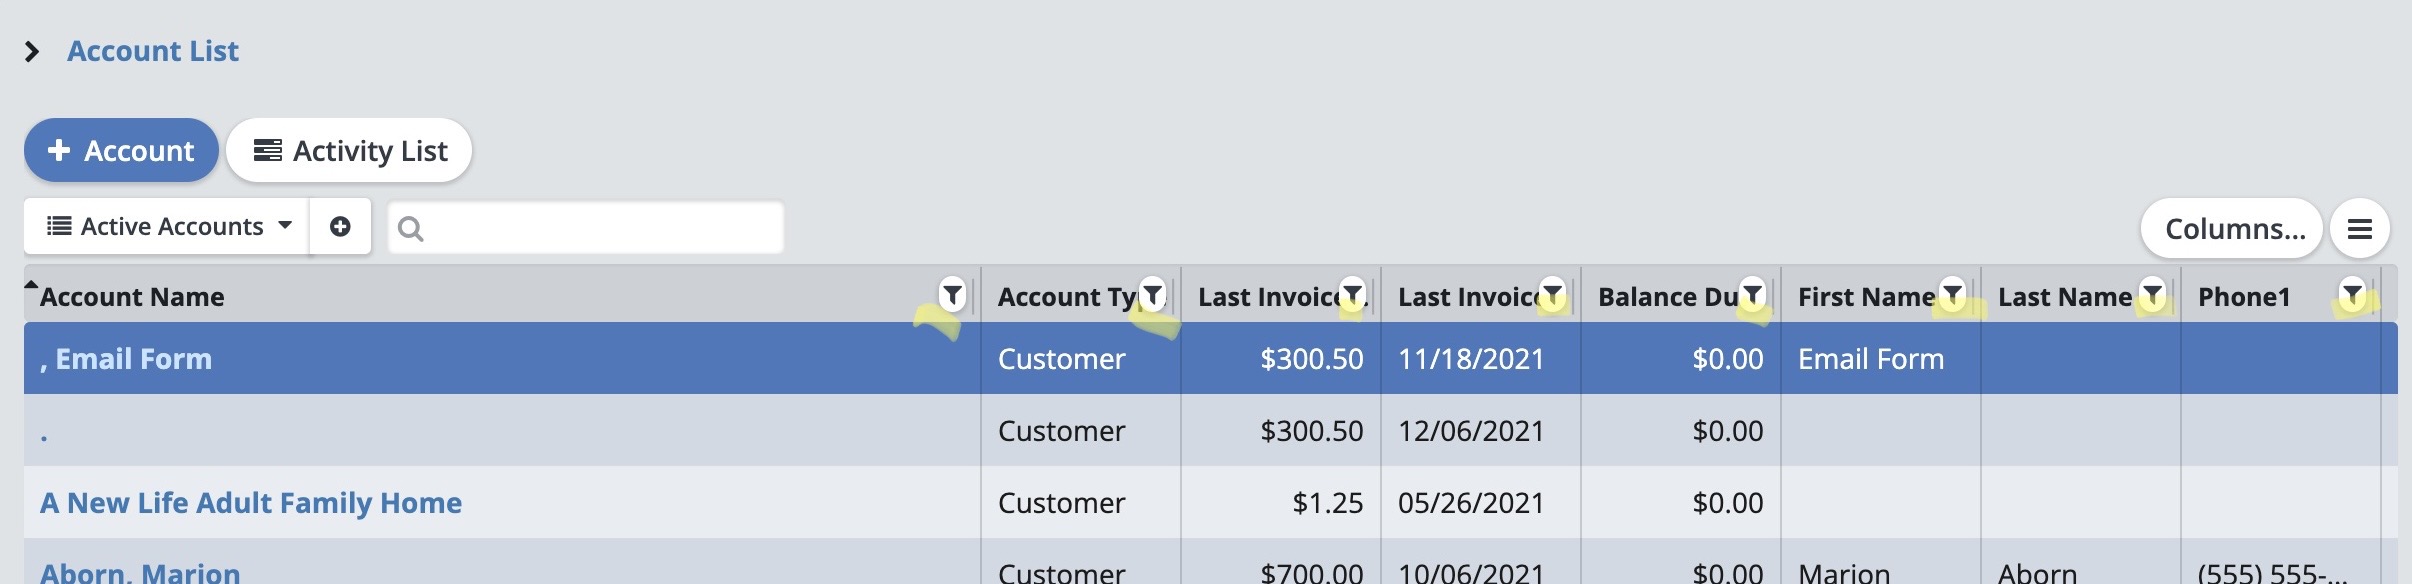
For this example, we're going to look at the Account List Page.
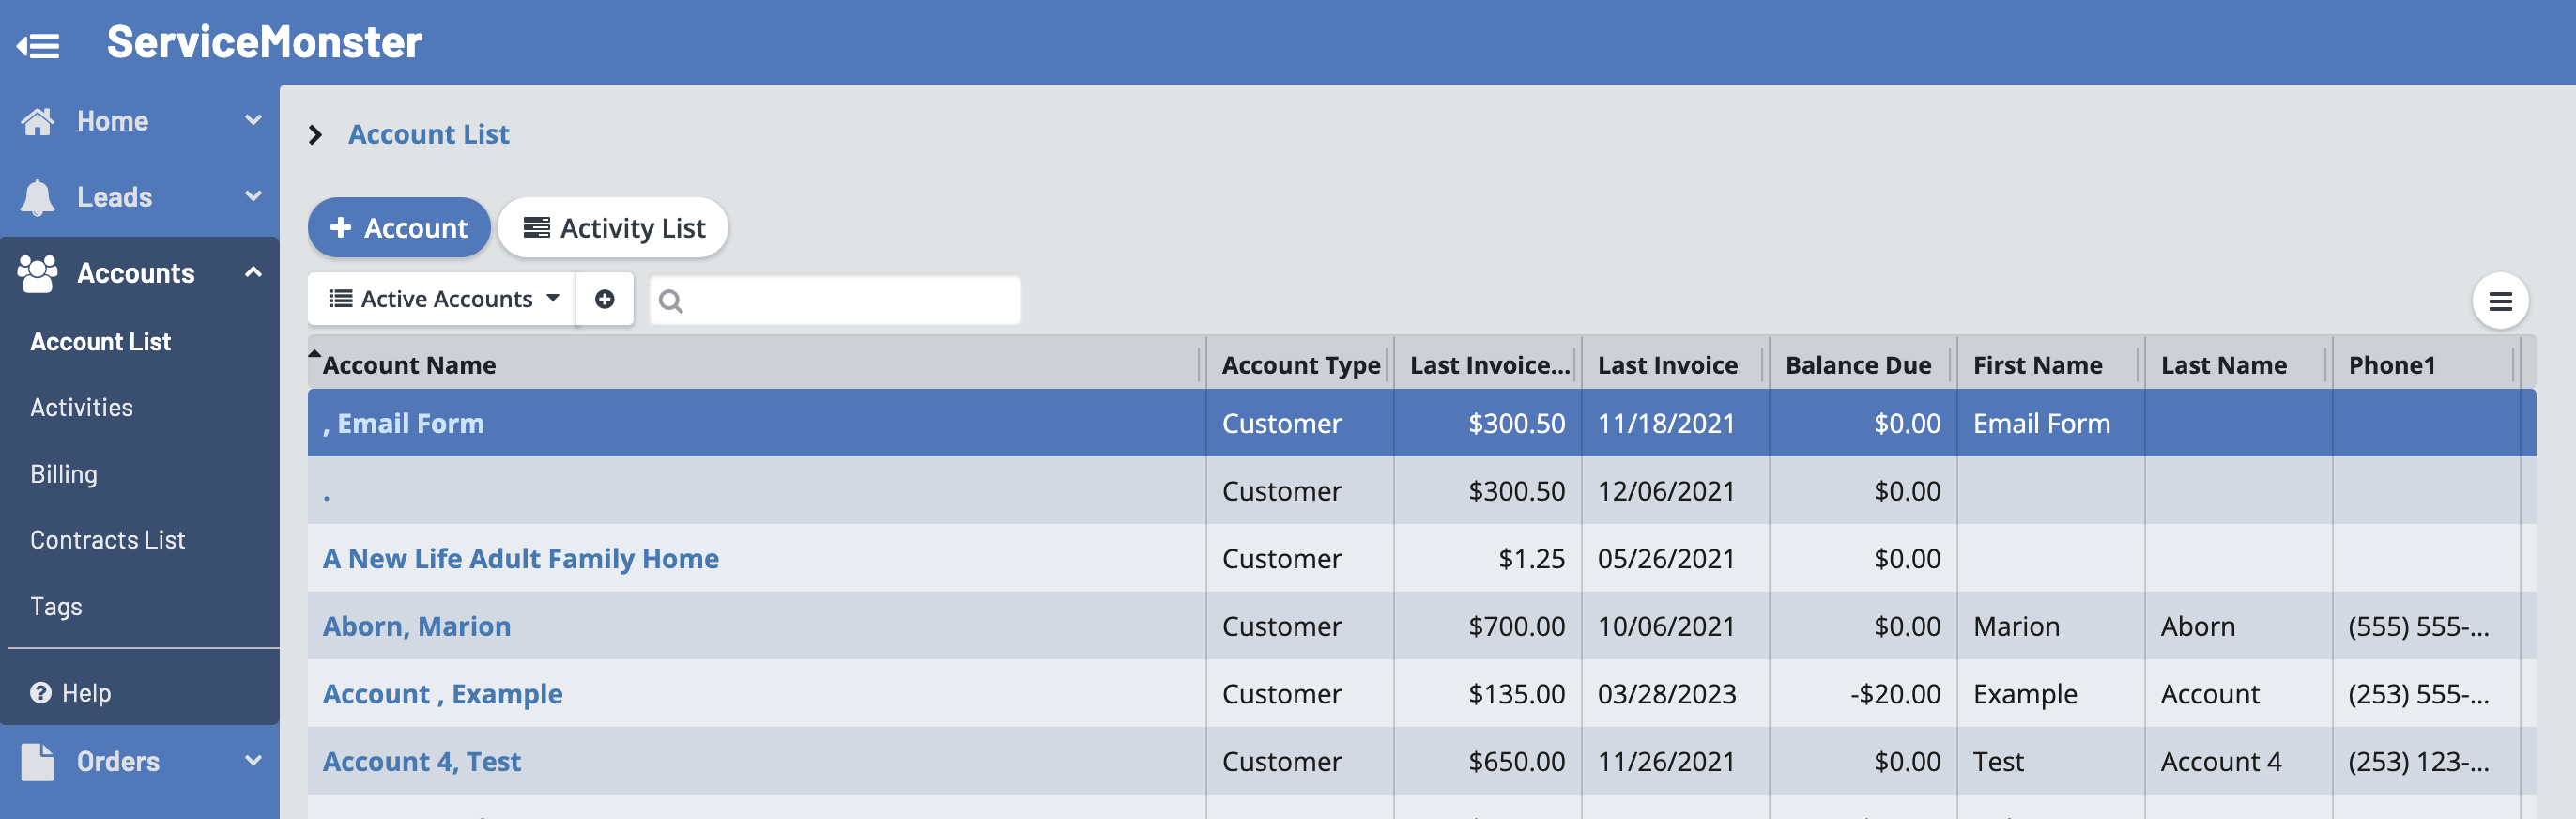
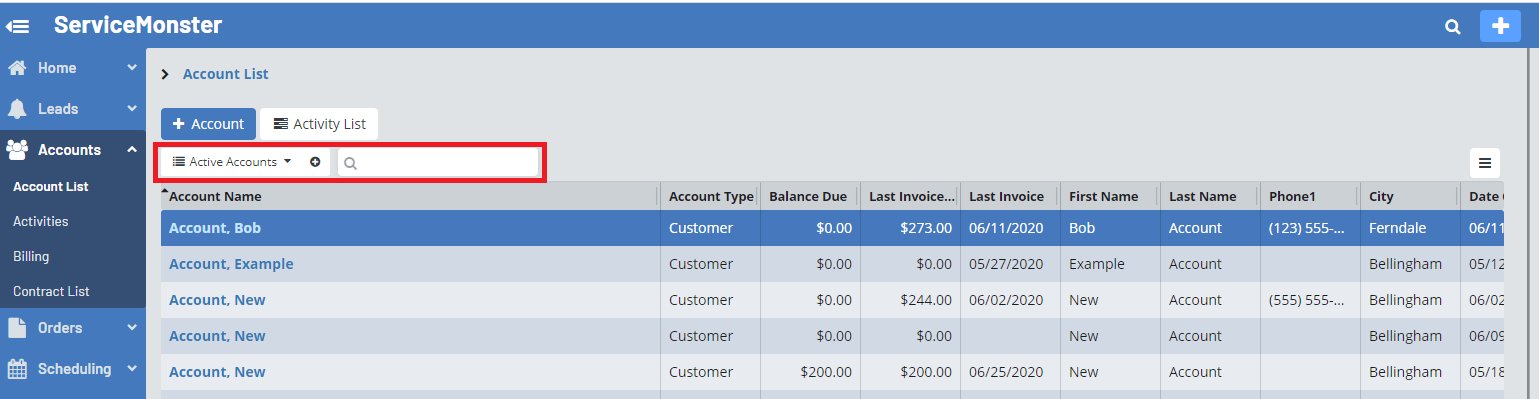
Here at the top of the Grid is a drop-down menu where you can choose different filters for the list (Active Accounts, Inactive Accounts, Past Due Accounts, etc).
You can also use the search bar to search for a specific item on the list.
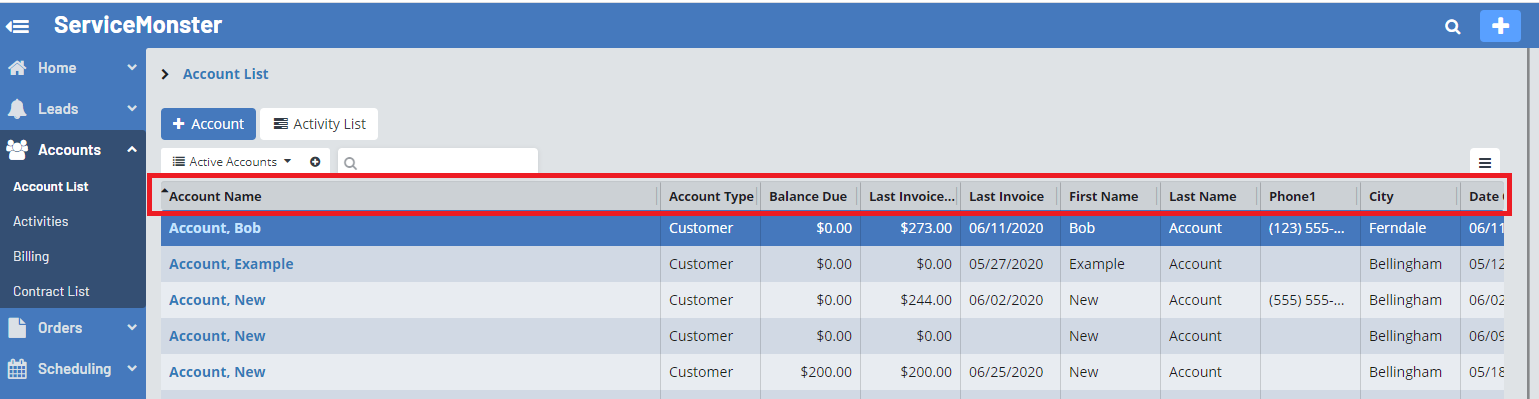
You can easily filter the list by the different Columns or Categories by clicking on the category name. You can also click the name more than once to change which direction the items are being filtered (biggest to smallest vs. smallest to biggest, or A-Z vs. Z-A).
You can resize a column by clicking on the line between the columns, and sliding it to the left or right.
You can also grab a column and drag and drop it to reorder the columns.
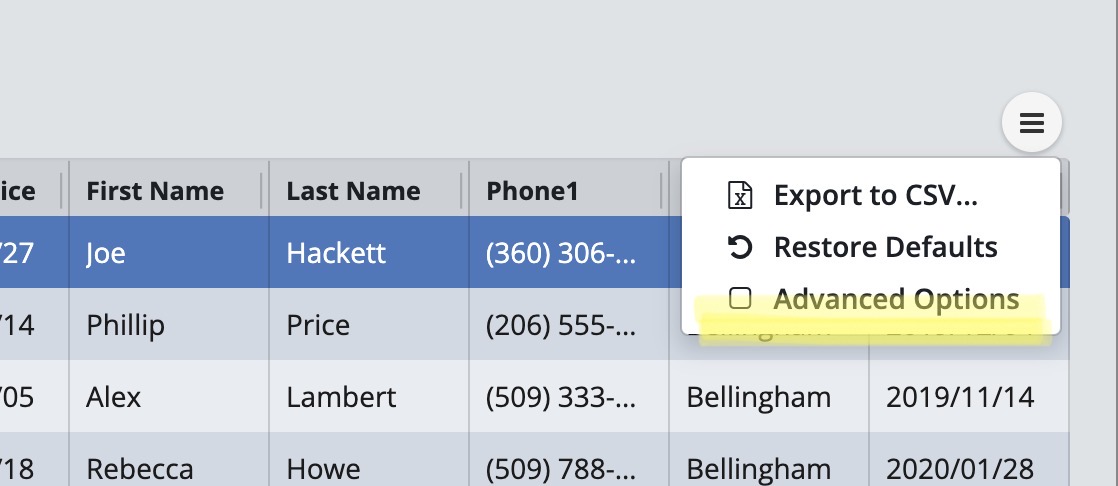
The small circular button on the upper right side is the “More Options” button. This opens up a menu where you can choose to do the following.
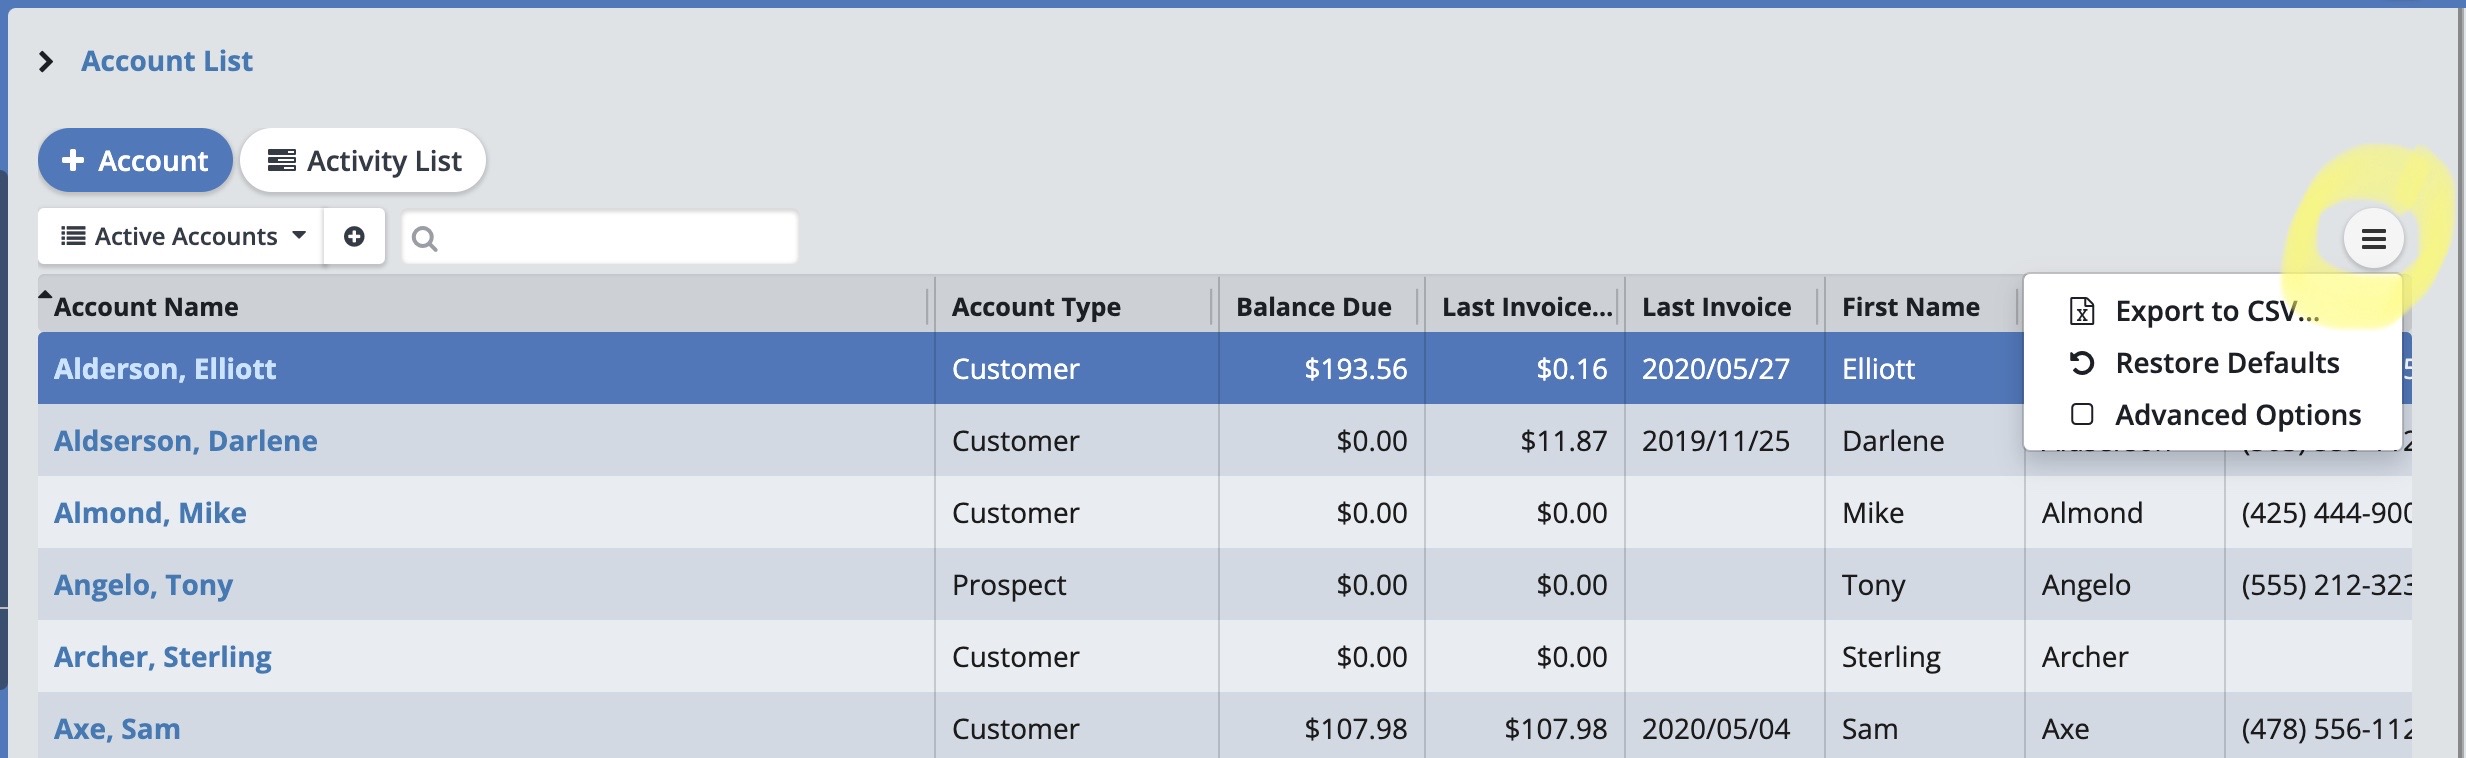
This allows you to create a CSV file of the information on this list.
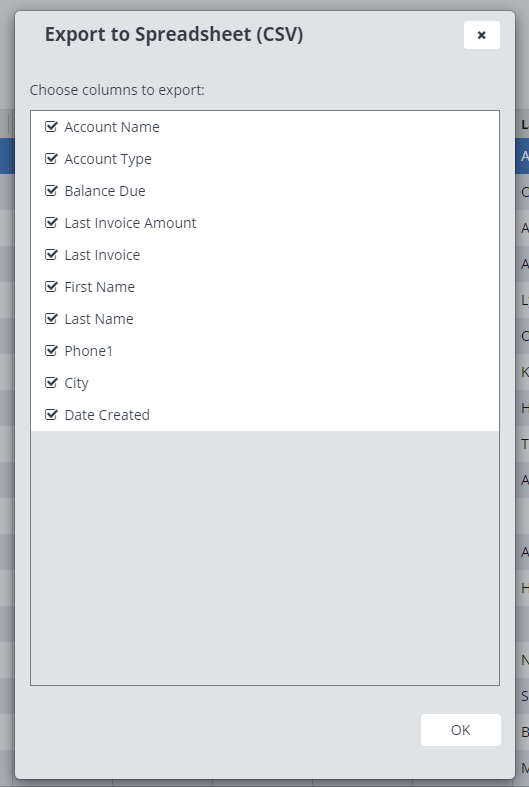
Clicking on "Export to CSV" opens up a menu where you can choose what columns are included.
If you wish to include any columns not currently displayed in your grid view, you will first need to click on "Advanced Options".
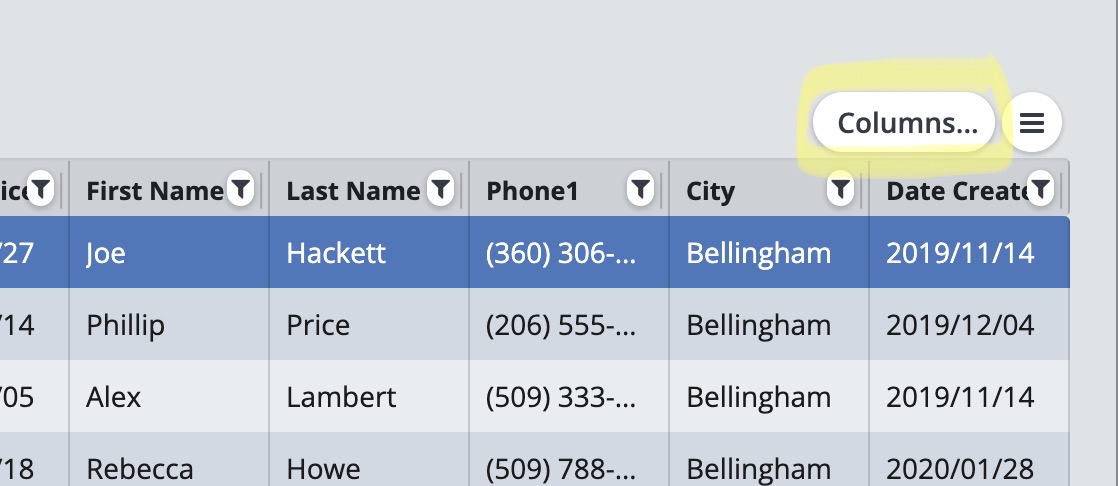
Then click on the "Columns" button directly left of the "More Options" button.
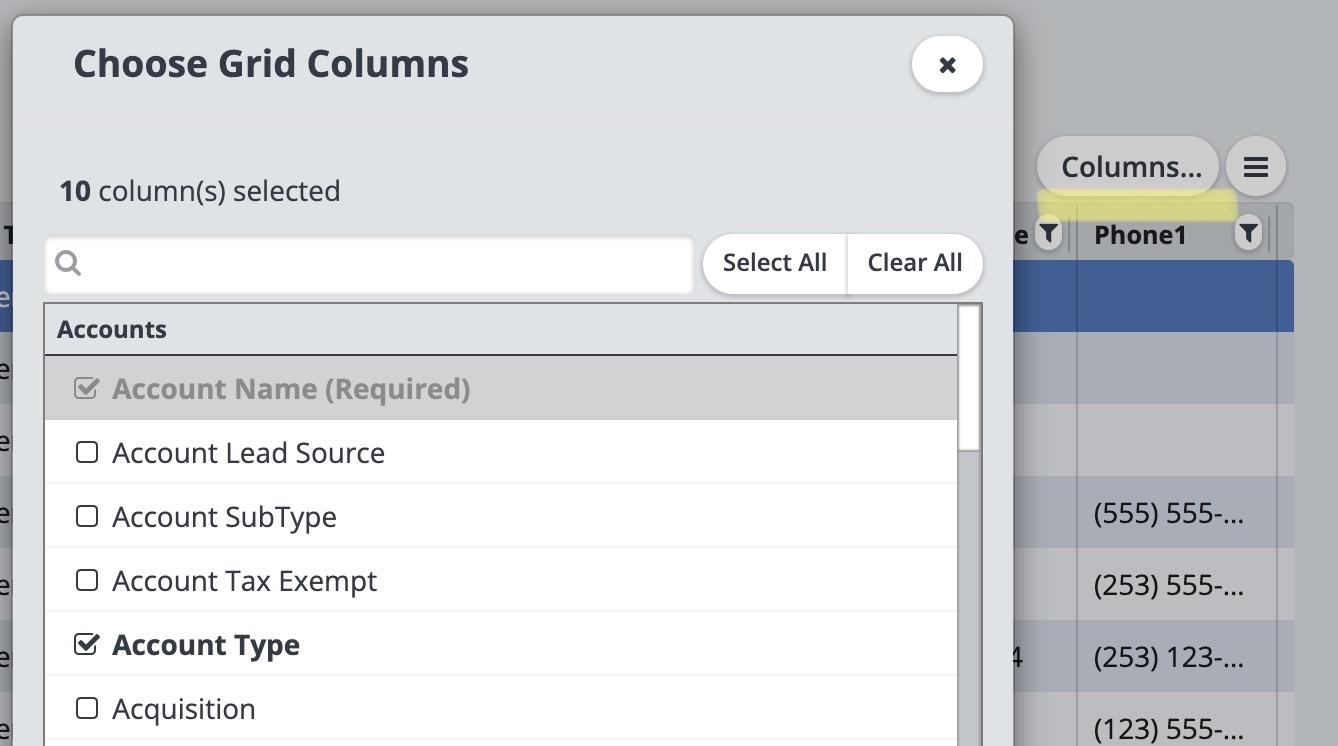
This opens up a new window called "Choose Grid Columns".
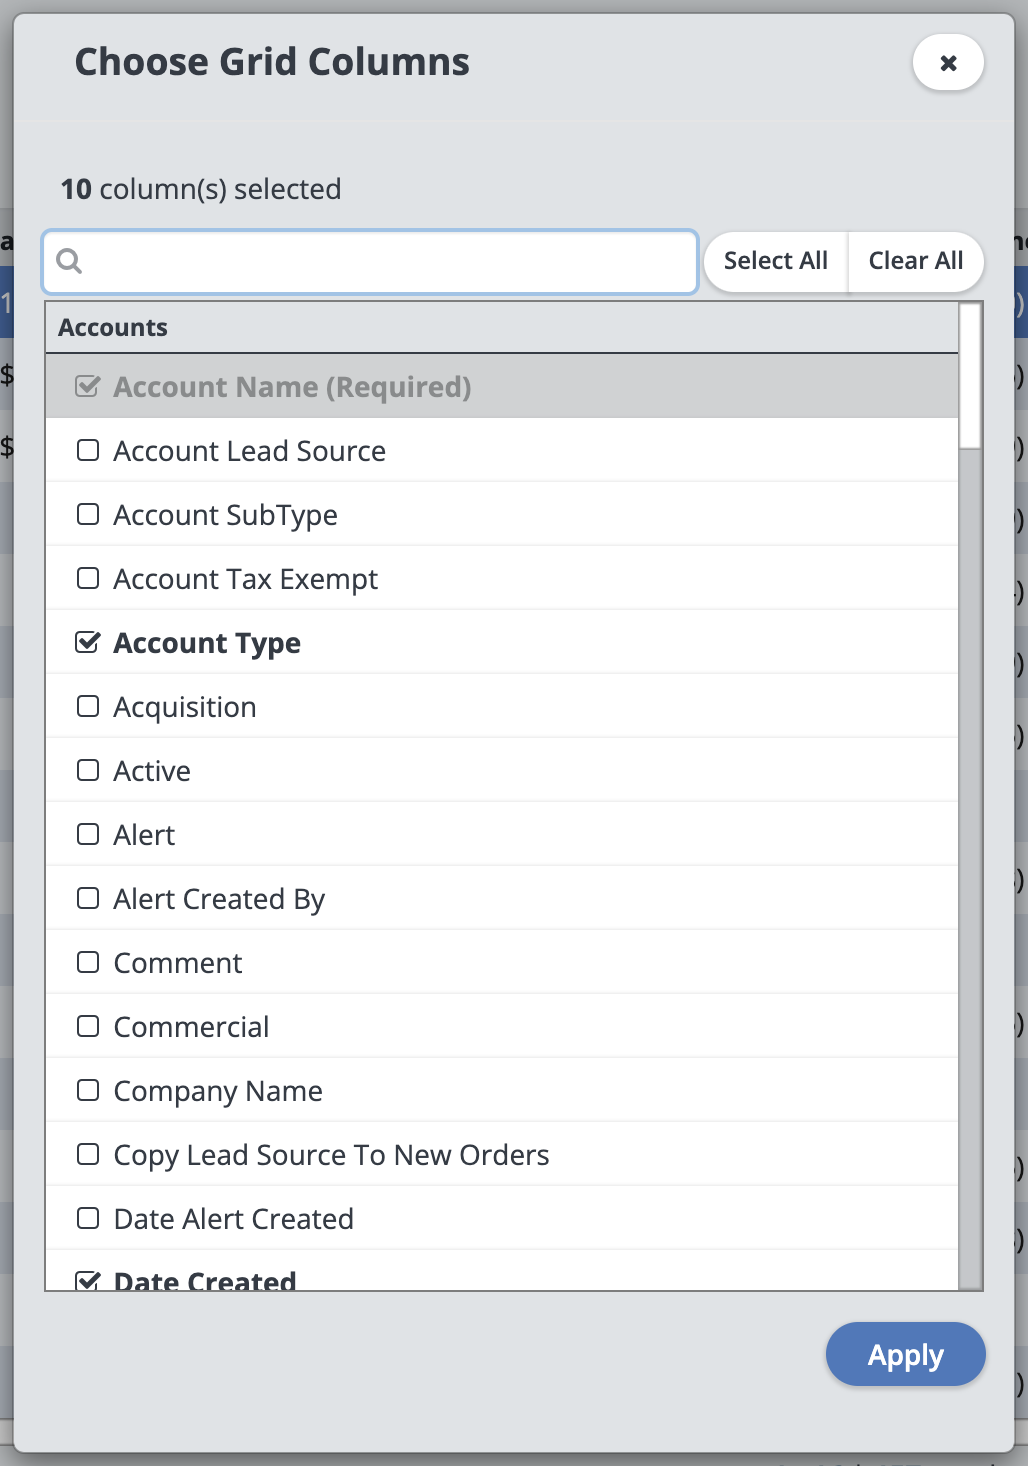
From this window, choose columns that you want to export to add to the grid. There is a "Select All" button at the top that will select all columns available to be exported.
Click "Apply" when you are happy with your selection and the changes will be saved.
Now, click on the "More Options" button and select "Export to CSV". Select all the columns you wish to export, and click "OK". This will download your grid list with the columns chosen, that you can then open in Excel.

To exit the "Advanced Options" mode, simply deselect the button.
This button will restore the list to its default settings.
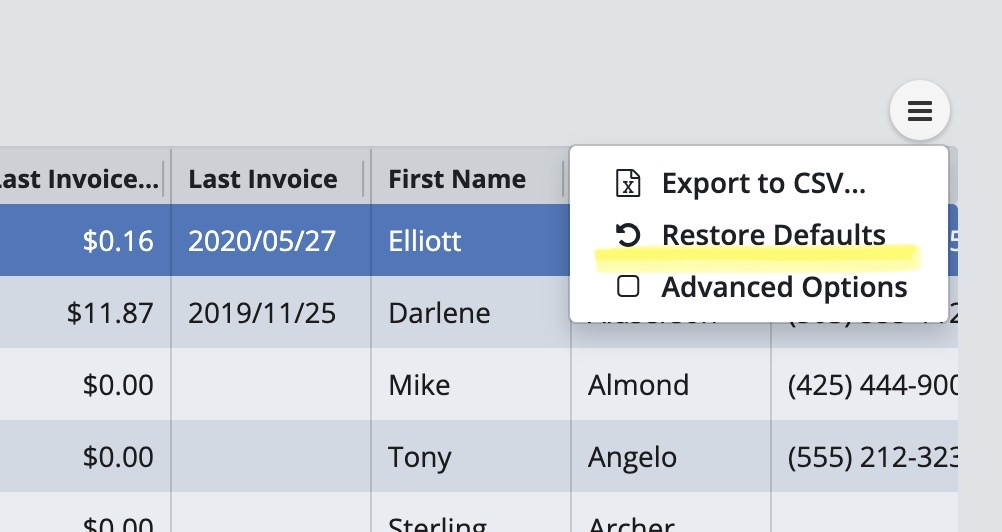
Selecting "Advanced Options" adds filters onto your grid columns.
You can click on the small filter button and a box will open. Here you can type in anything you would like to filter that column by.

You can also select the "Columns" button and a new window will open where you can pick and choose exactly which columns you want.
Click "Apply" when you are happy with your selection and the changes will be saved.
The columns you just selected will now show on the Grid.
To exit the "Advanced Options" mode, simply deselect the button.

